This week focused on 2D design, laser cutting, and CAD. I learned how to make finger joints, how to use the laser cutter, and build up some confidence and knowledge in Fusion 360!
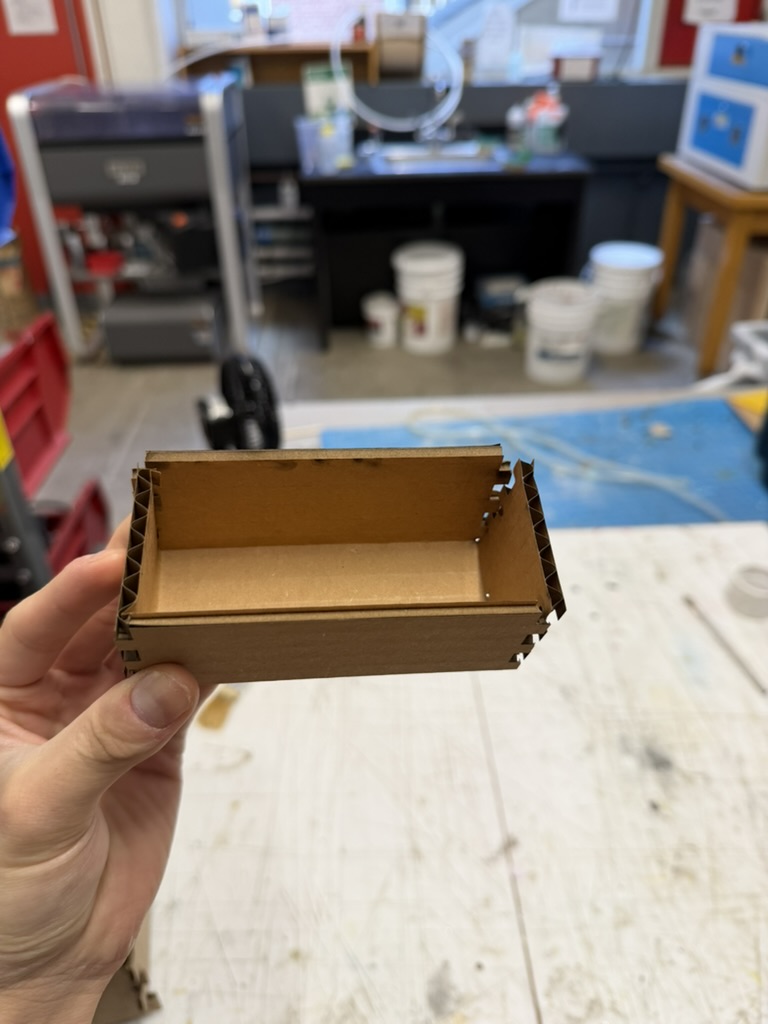
I started by making the standard finger joint box from the demo video on the PS70 website. I learned how finger joints work and how to operate the laser cutter. This was my first practice piece for getting comfortable with Fusion and how to account for kerf and various laser cutting softwares.
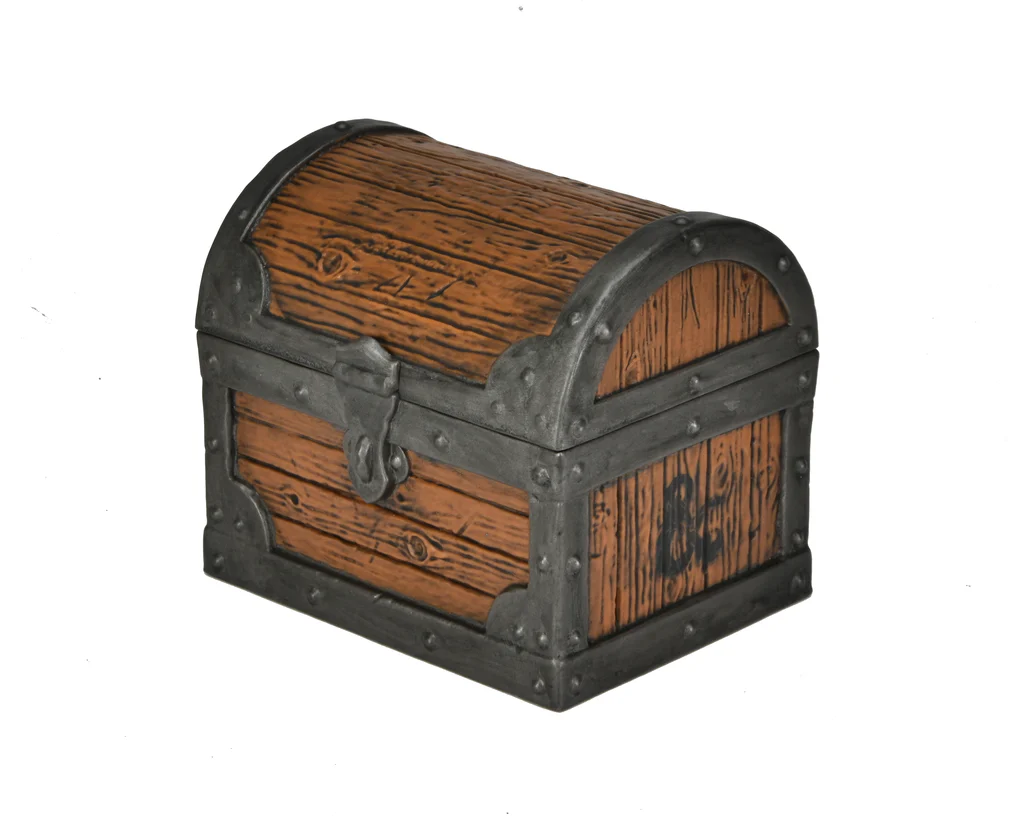
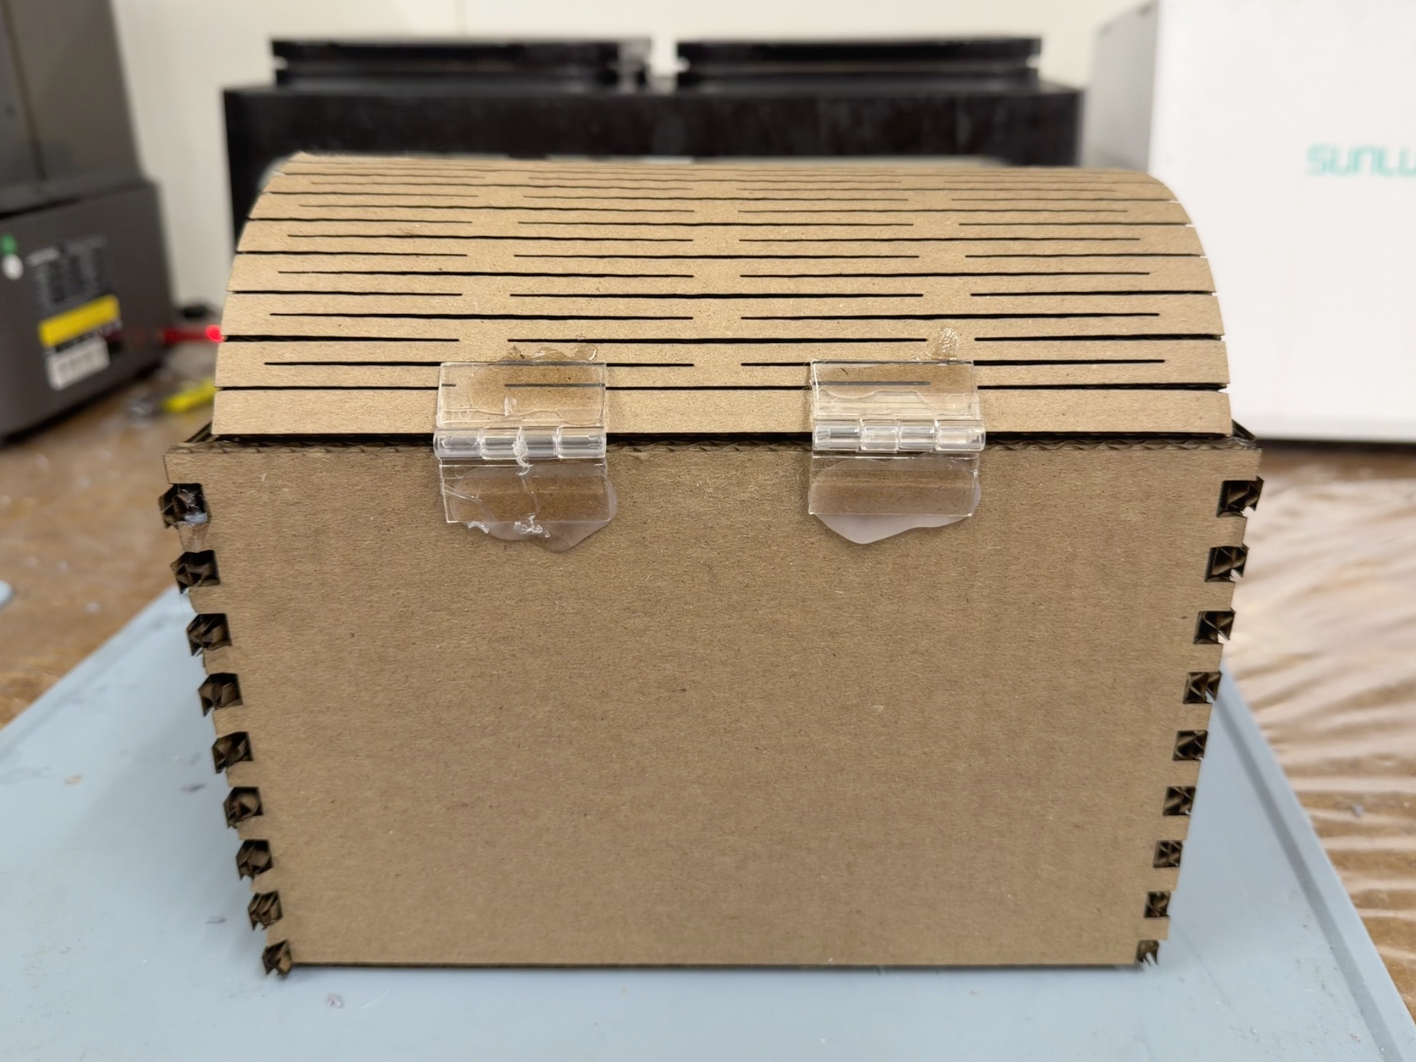
Once I had the basics down, I wanted to push myself to build something more unique. I was inspired by pirate treasure chests and decided to make one myself.
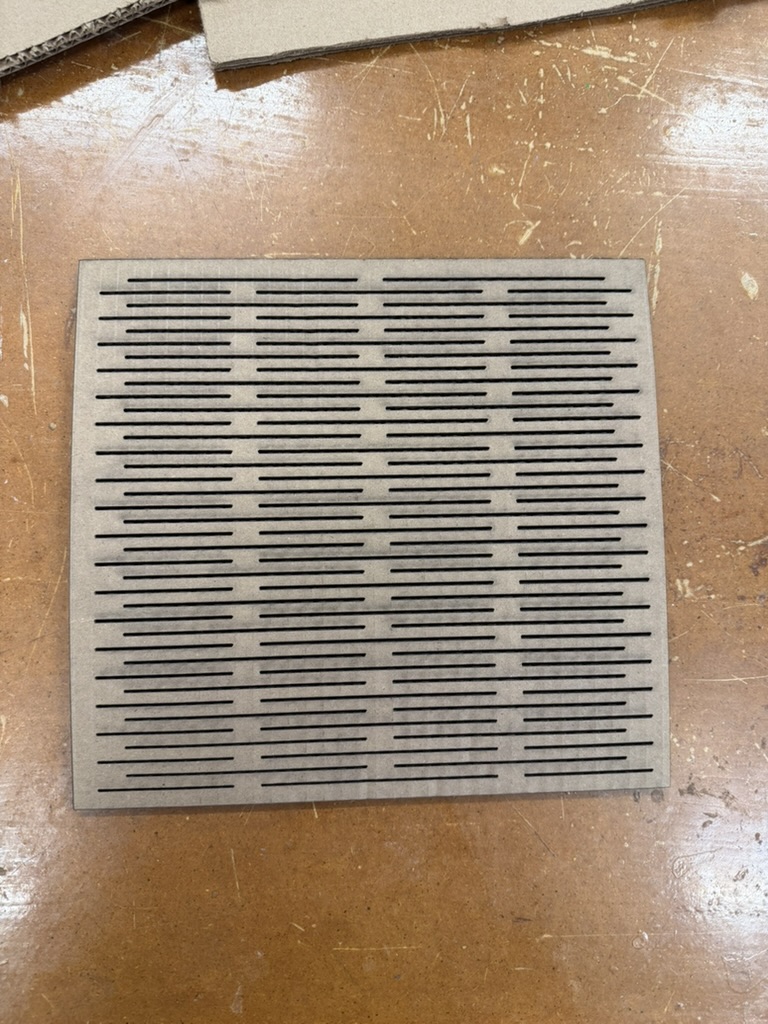
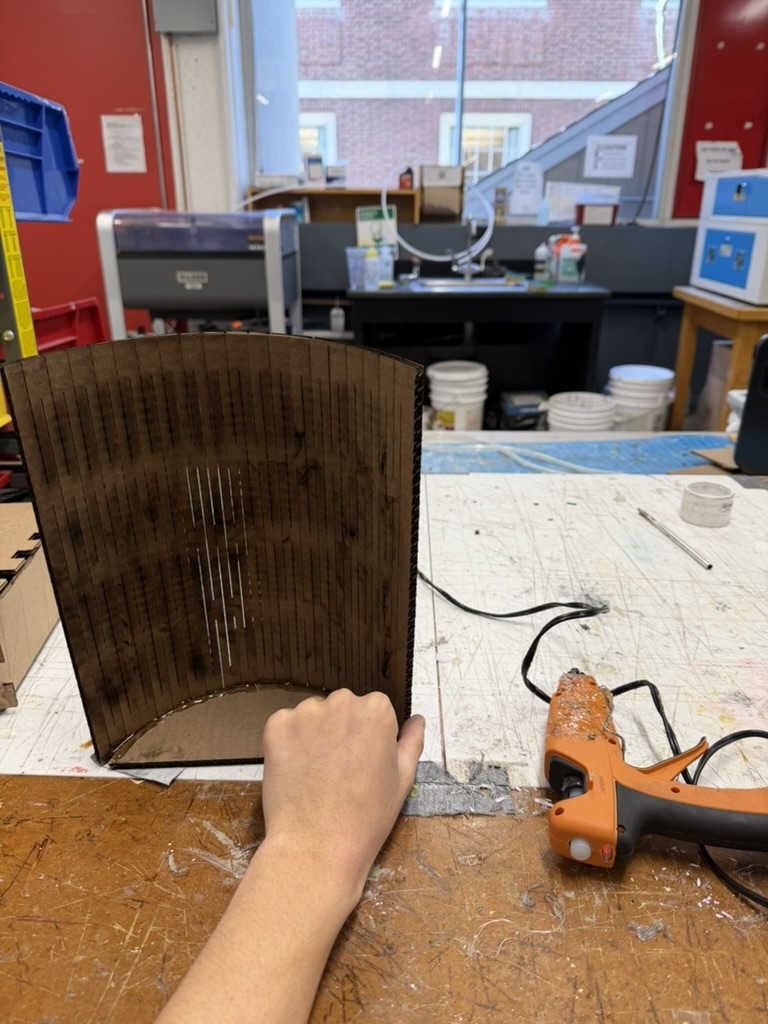
The defining feature of a treasure chest is the curved lid, so I implemented a living hinge using straight cuts to bend the cardboard into shape. Attempt 1: I cut the living hinge but forgot that the cuts need to extend all the way to the edges on both sides. Because they did not, the hinge could not flex properly.
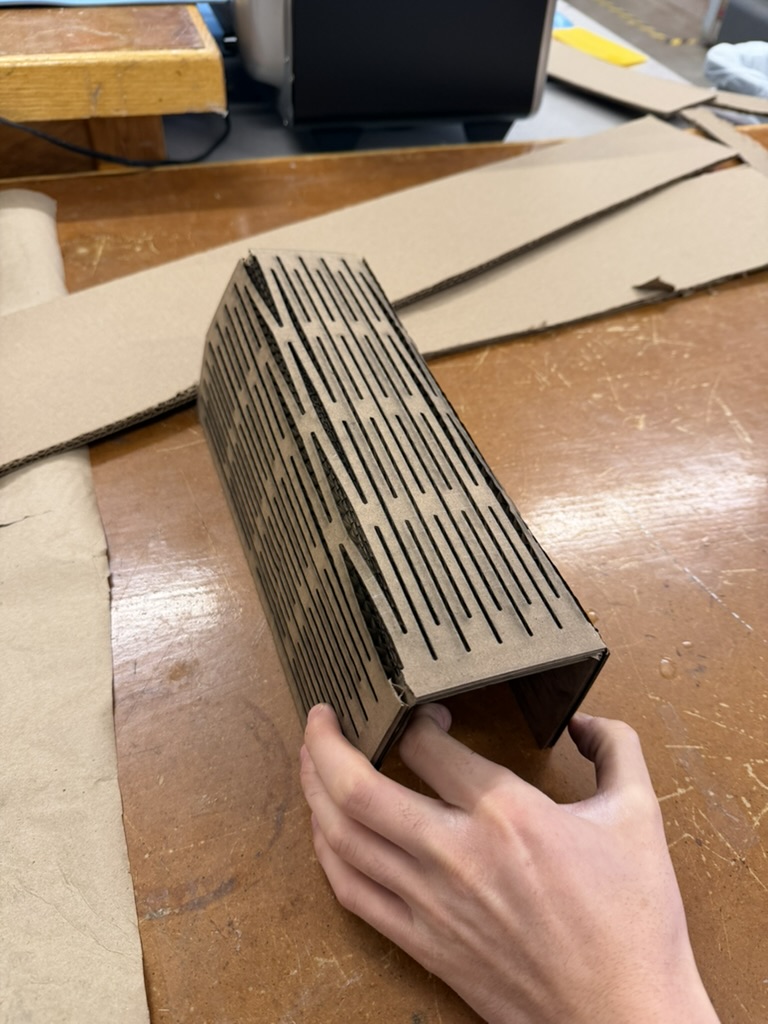
Attempt 2: I re-cut the hinge with the edges done correctly, but I entered the wrong dimensions. If I had actually used that lid, the whole box would have been too big for the laser cutter. I learned this way that our laser cutter in SC 102 only prints up to 18 by 32 inches.
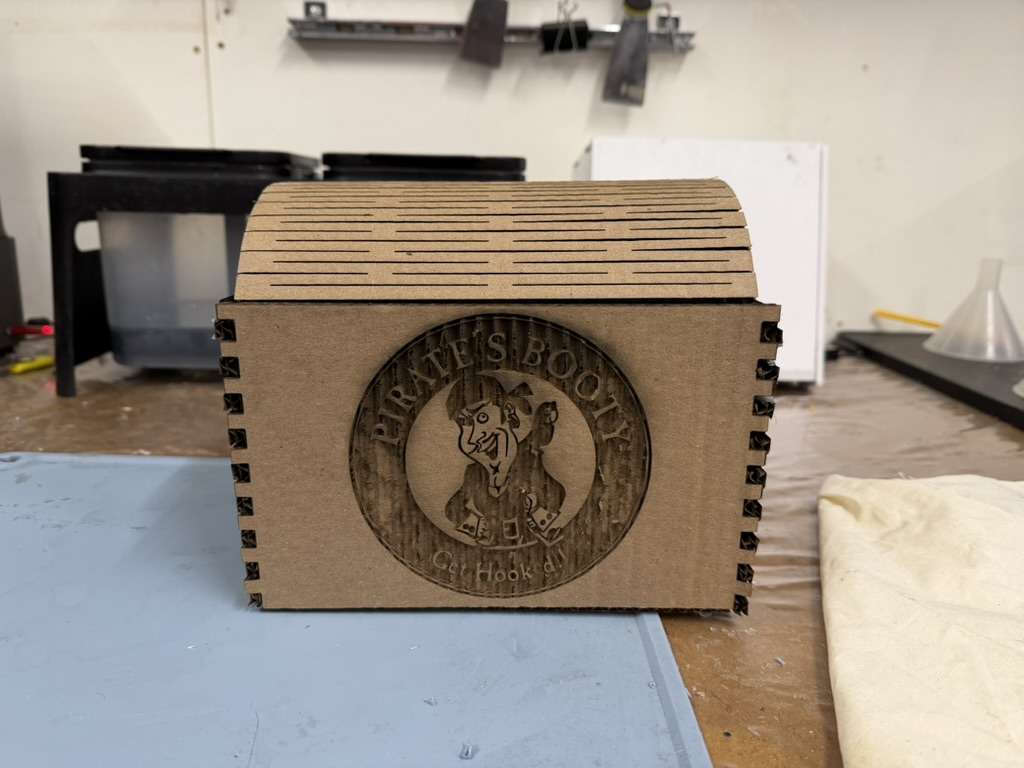
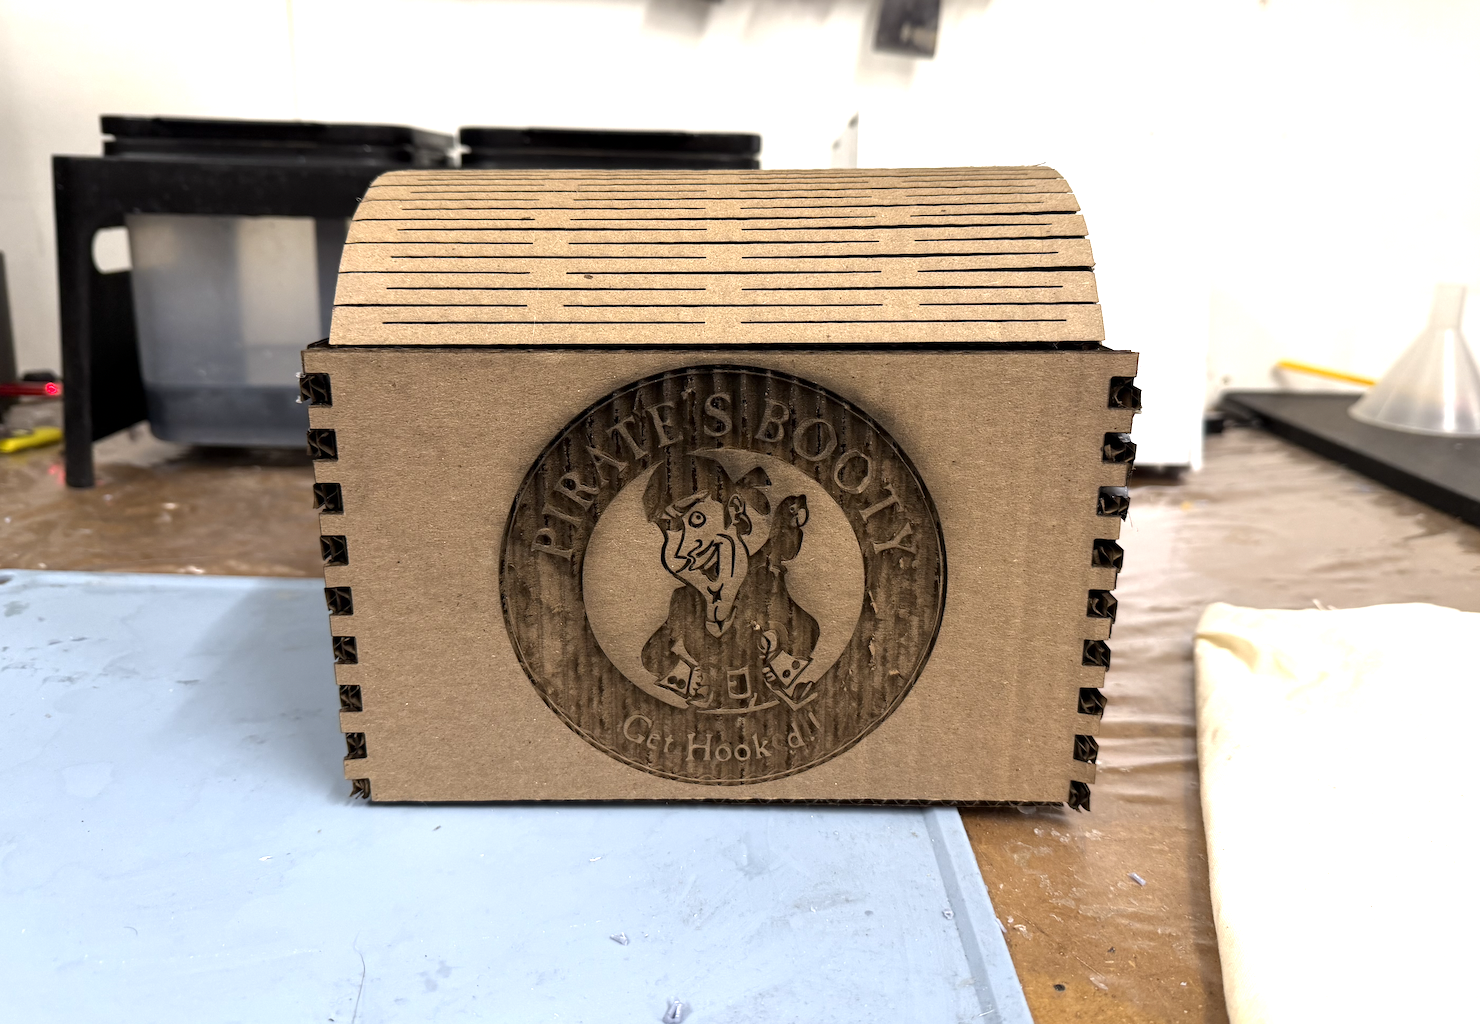
Attempt 3: I scaled everything down by 0.8 so it would fit on the bed. I also wanted to engrave the Pirate's Booty logo, one of my roommates' favorite chips, on the side of the box. I first tried an online PNG-to-SVG converter and imported the file into Fusion, but that did not work. So I started tracing the logo line by line in Fusion, which took about an hour. Bobby eventually came and saved me by showing me Inkscape's Image to Bitmap feature, which got me to the same result in a fraction of the time.
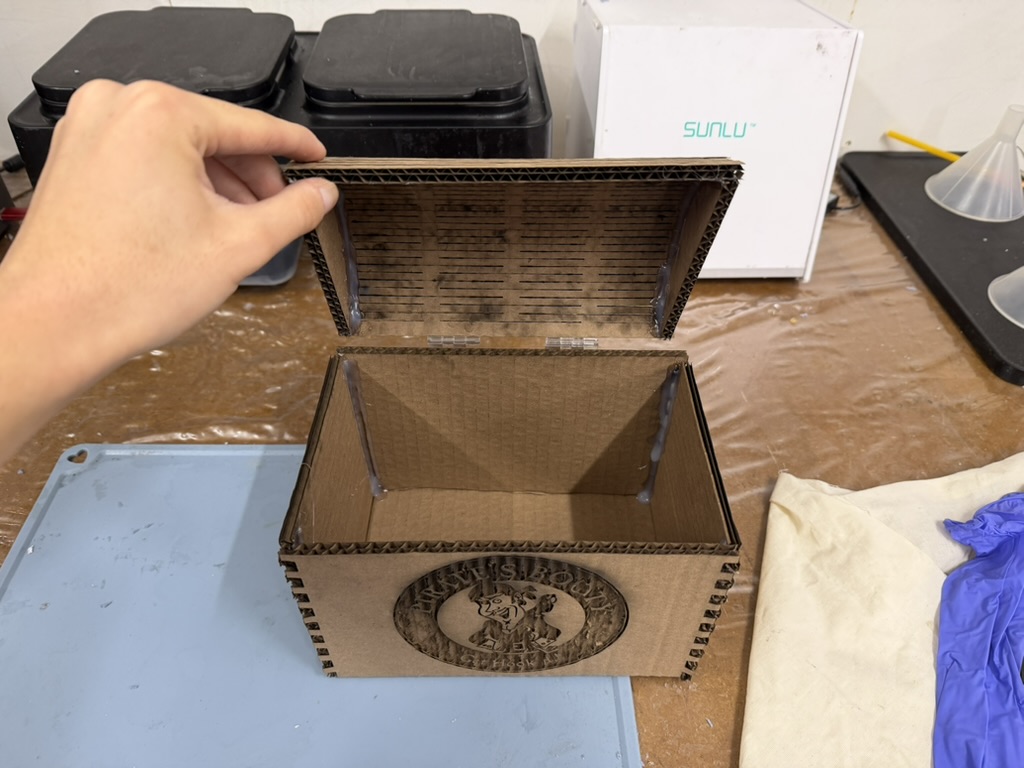
With the correct dimensions, the engraved logo, and a working living hinge, I finished the build by hot gluing two plastic hinges to attach the lid so it could open and close freely.
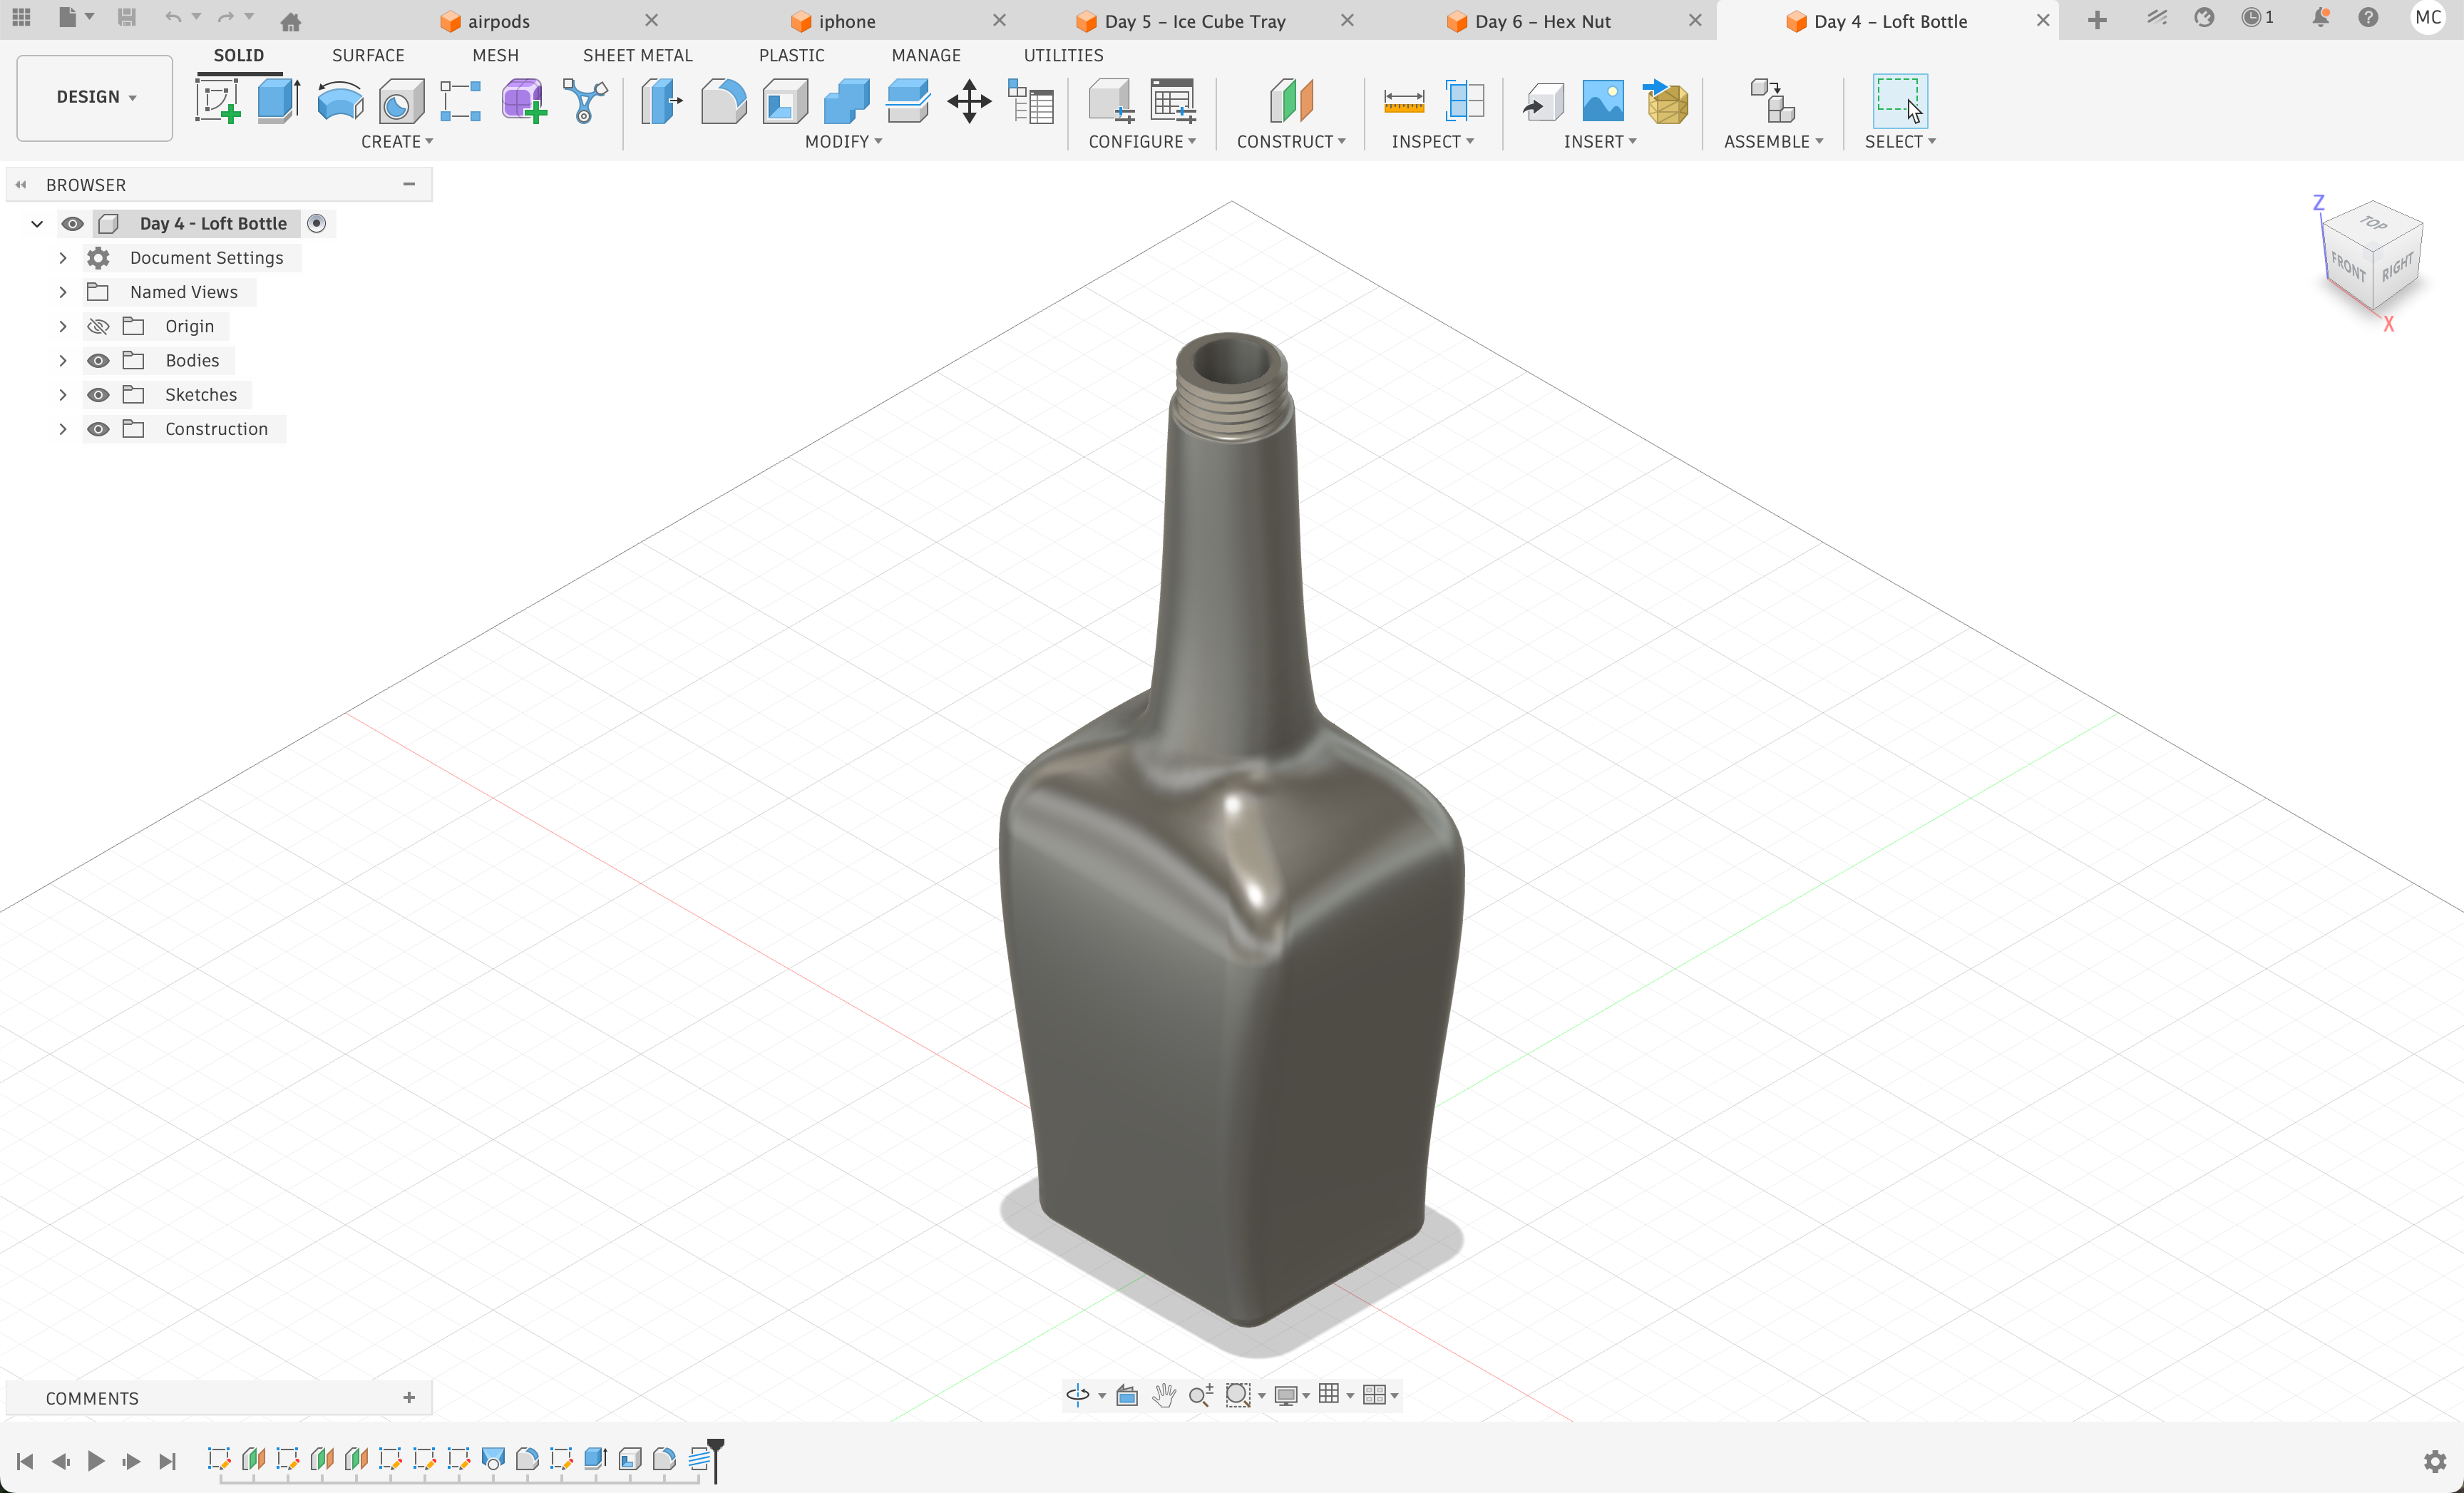
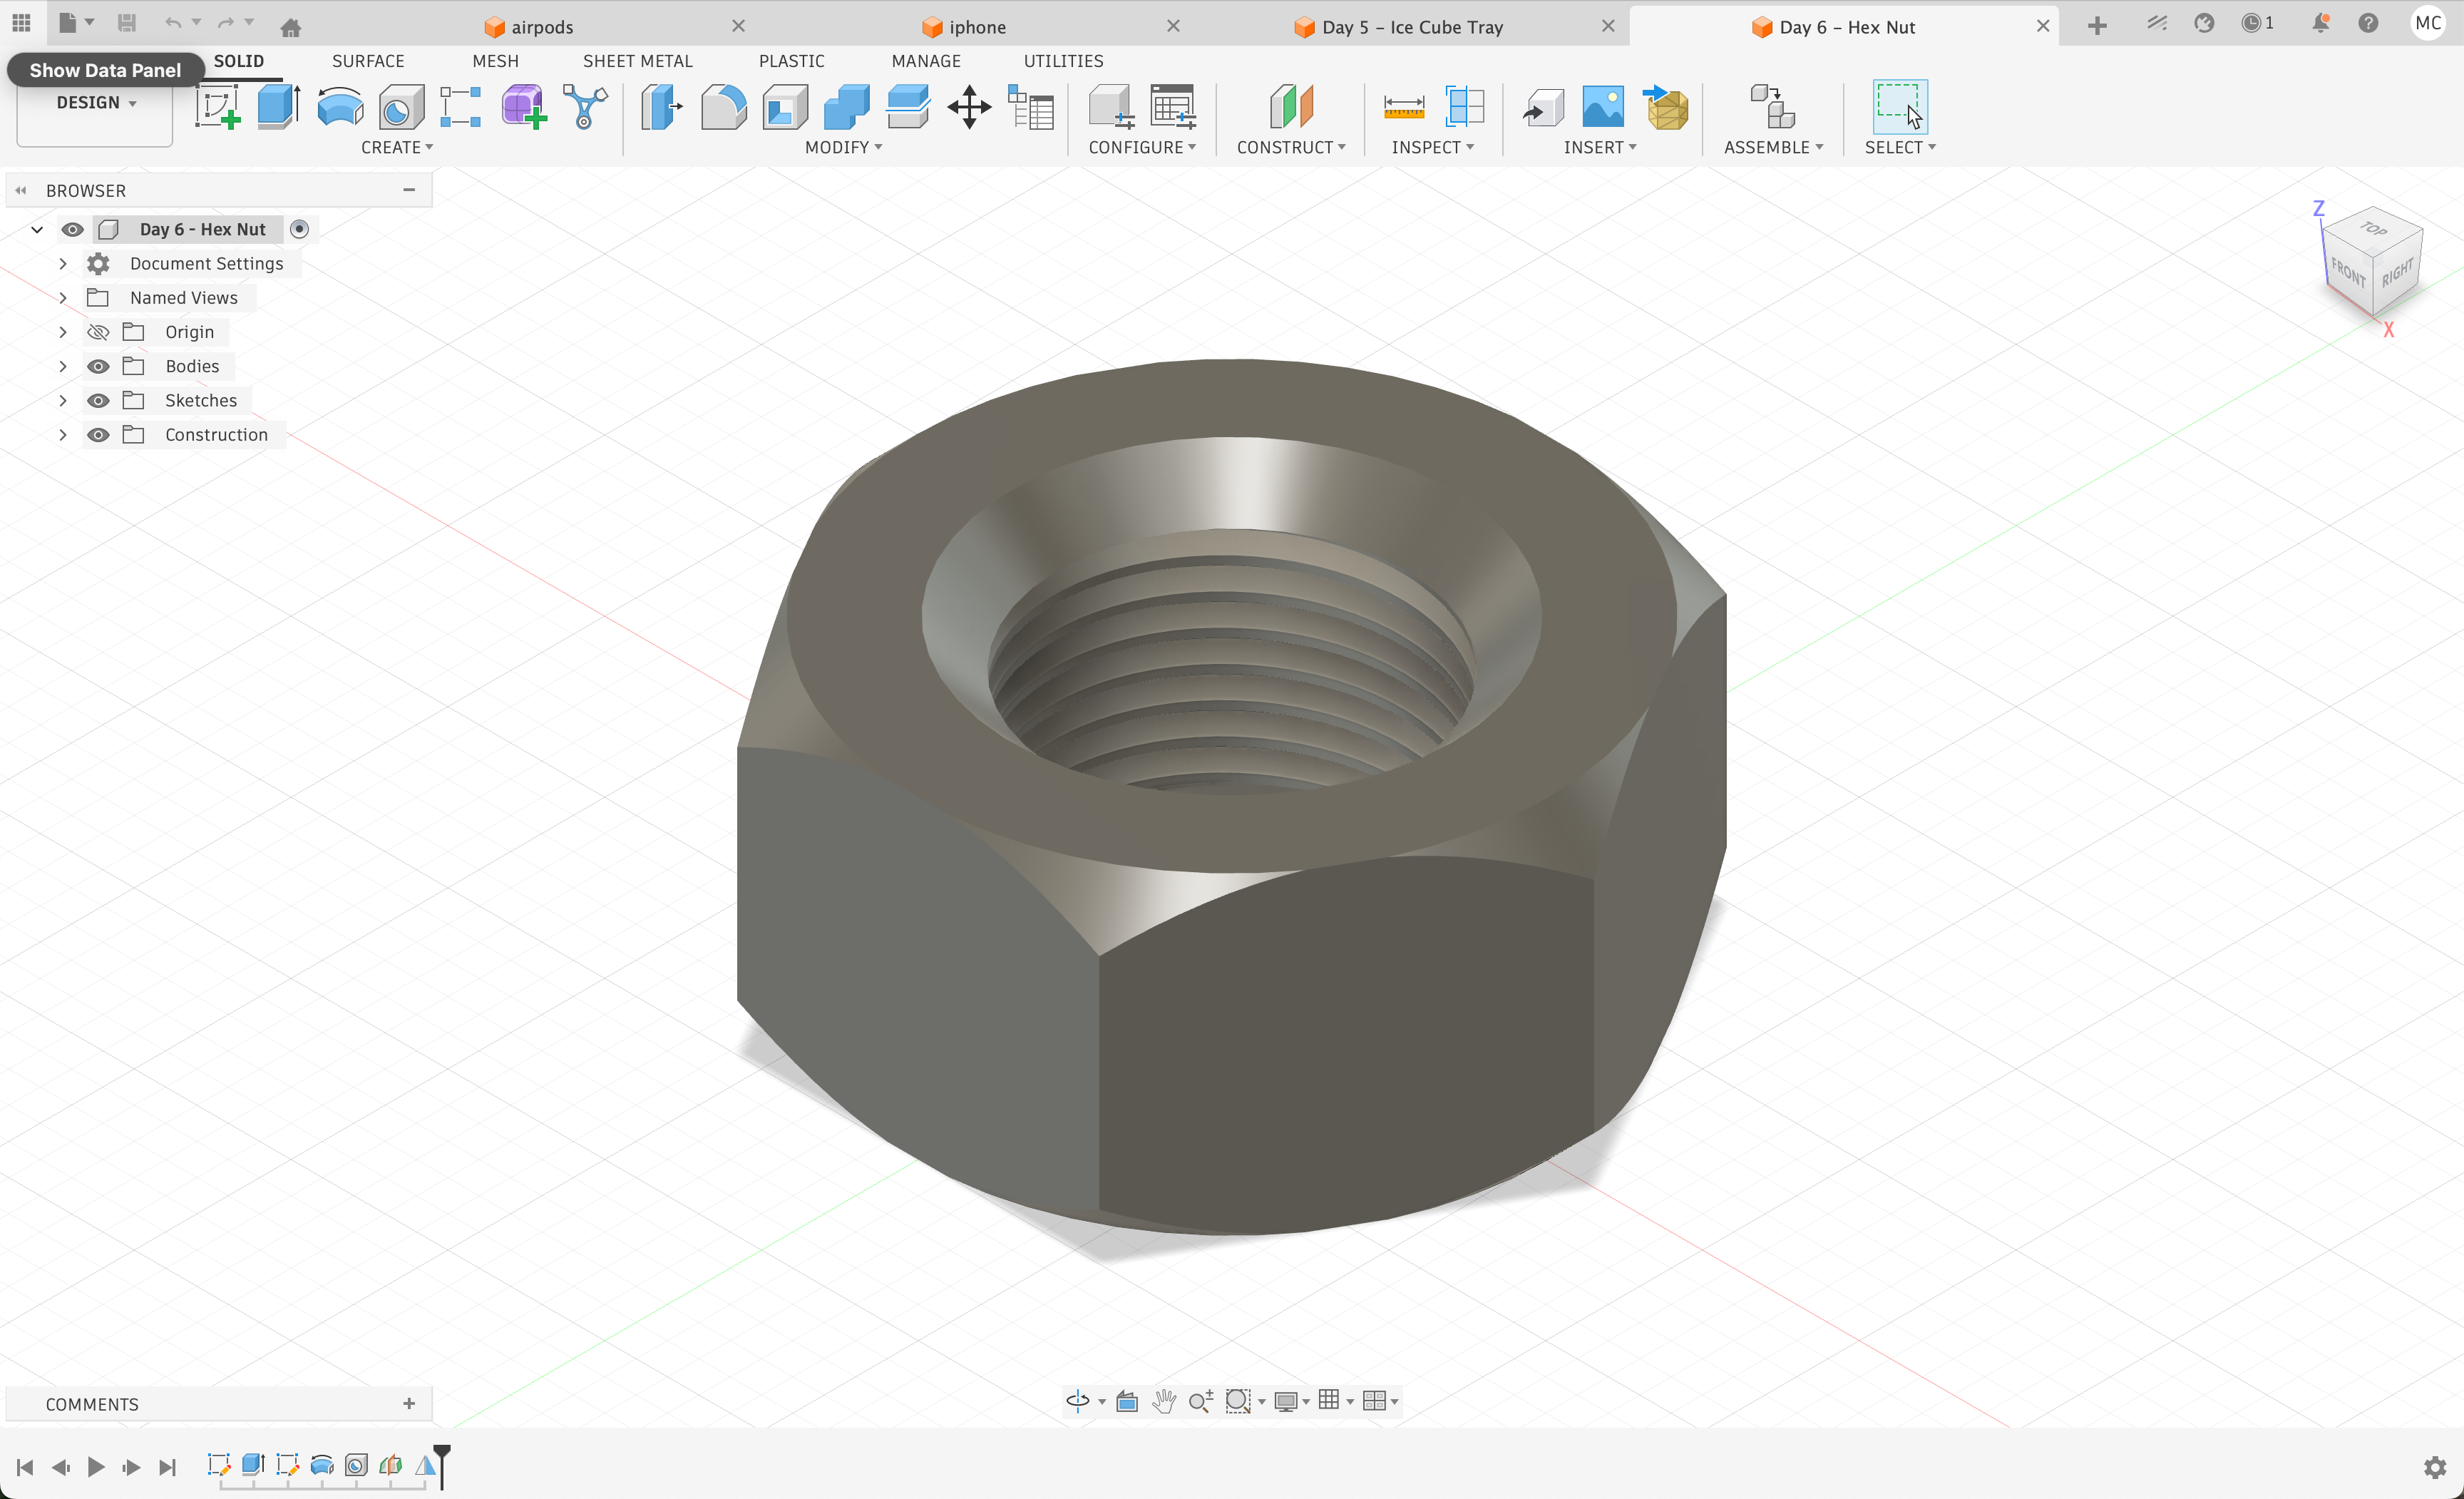
Motivated to learn as much CAD as I could, I worked through the first 10 videos of the "Teach Me Fusion 360 in 30 Days" tutorial playlist and followed along with every demo. The three most exciting files I made were a glass bottle, a hex nut, and an ice cube tray.

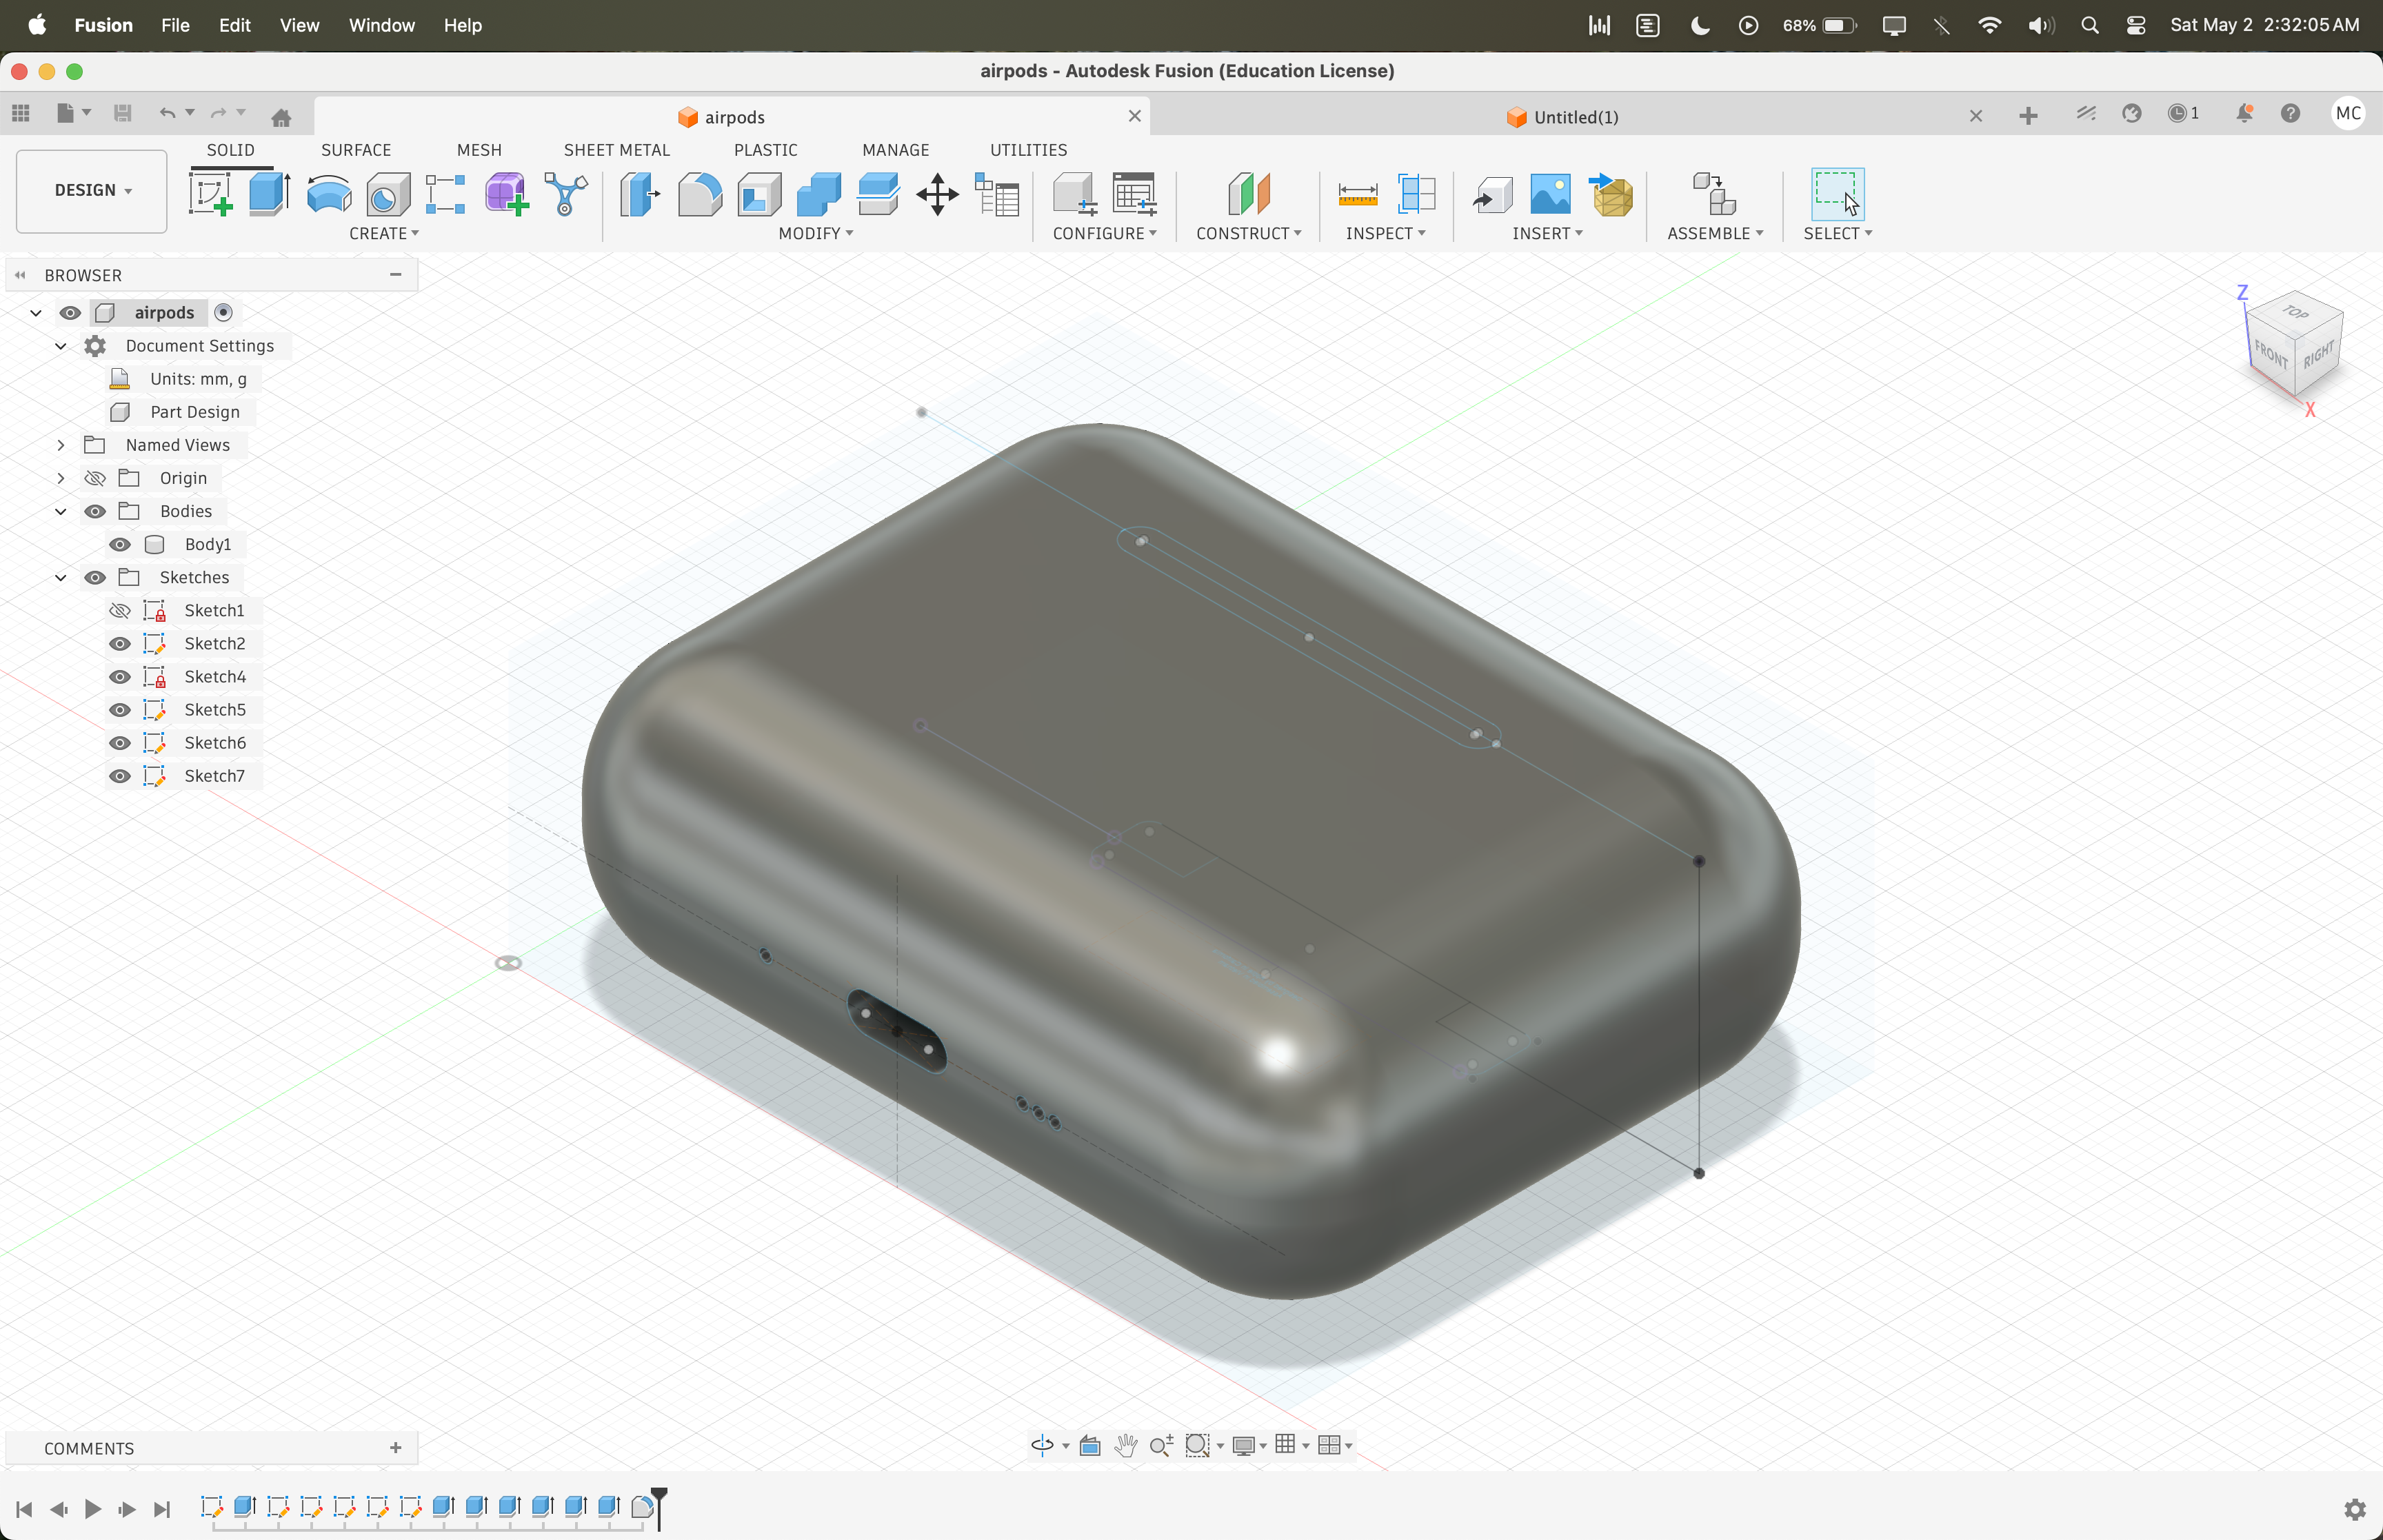
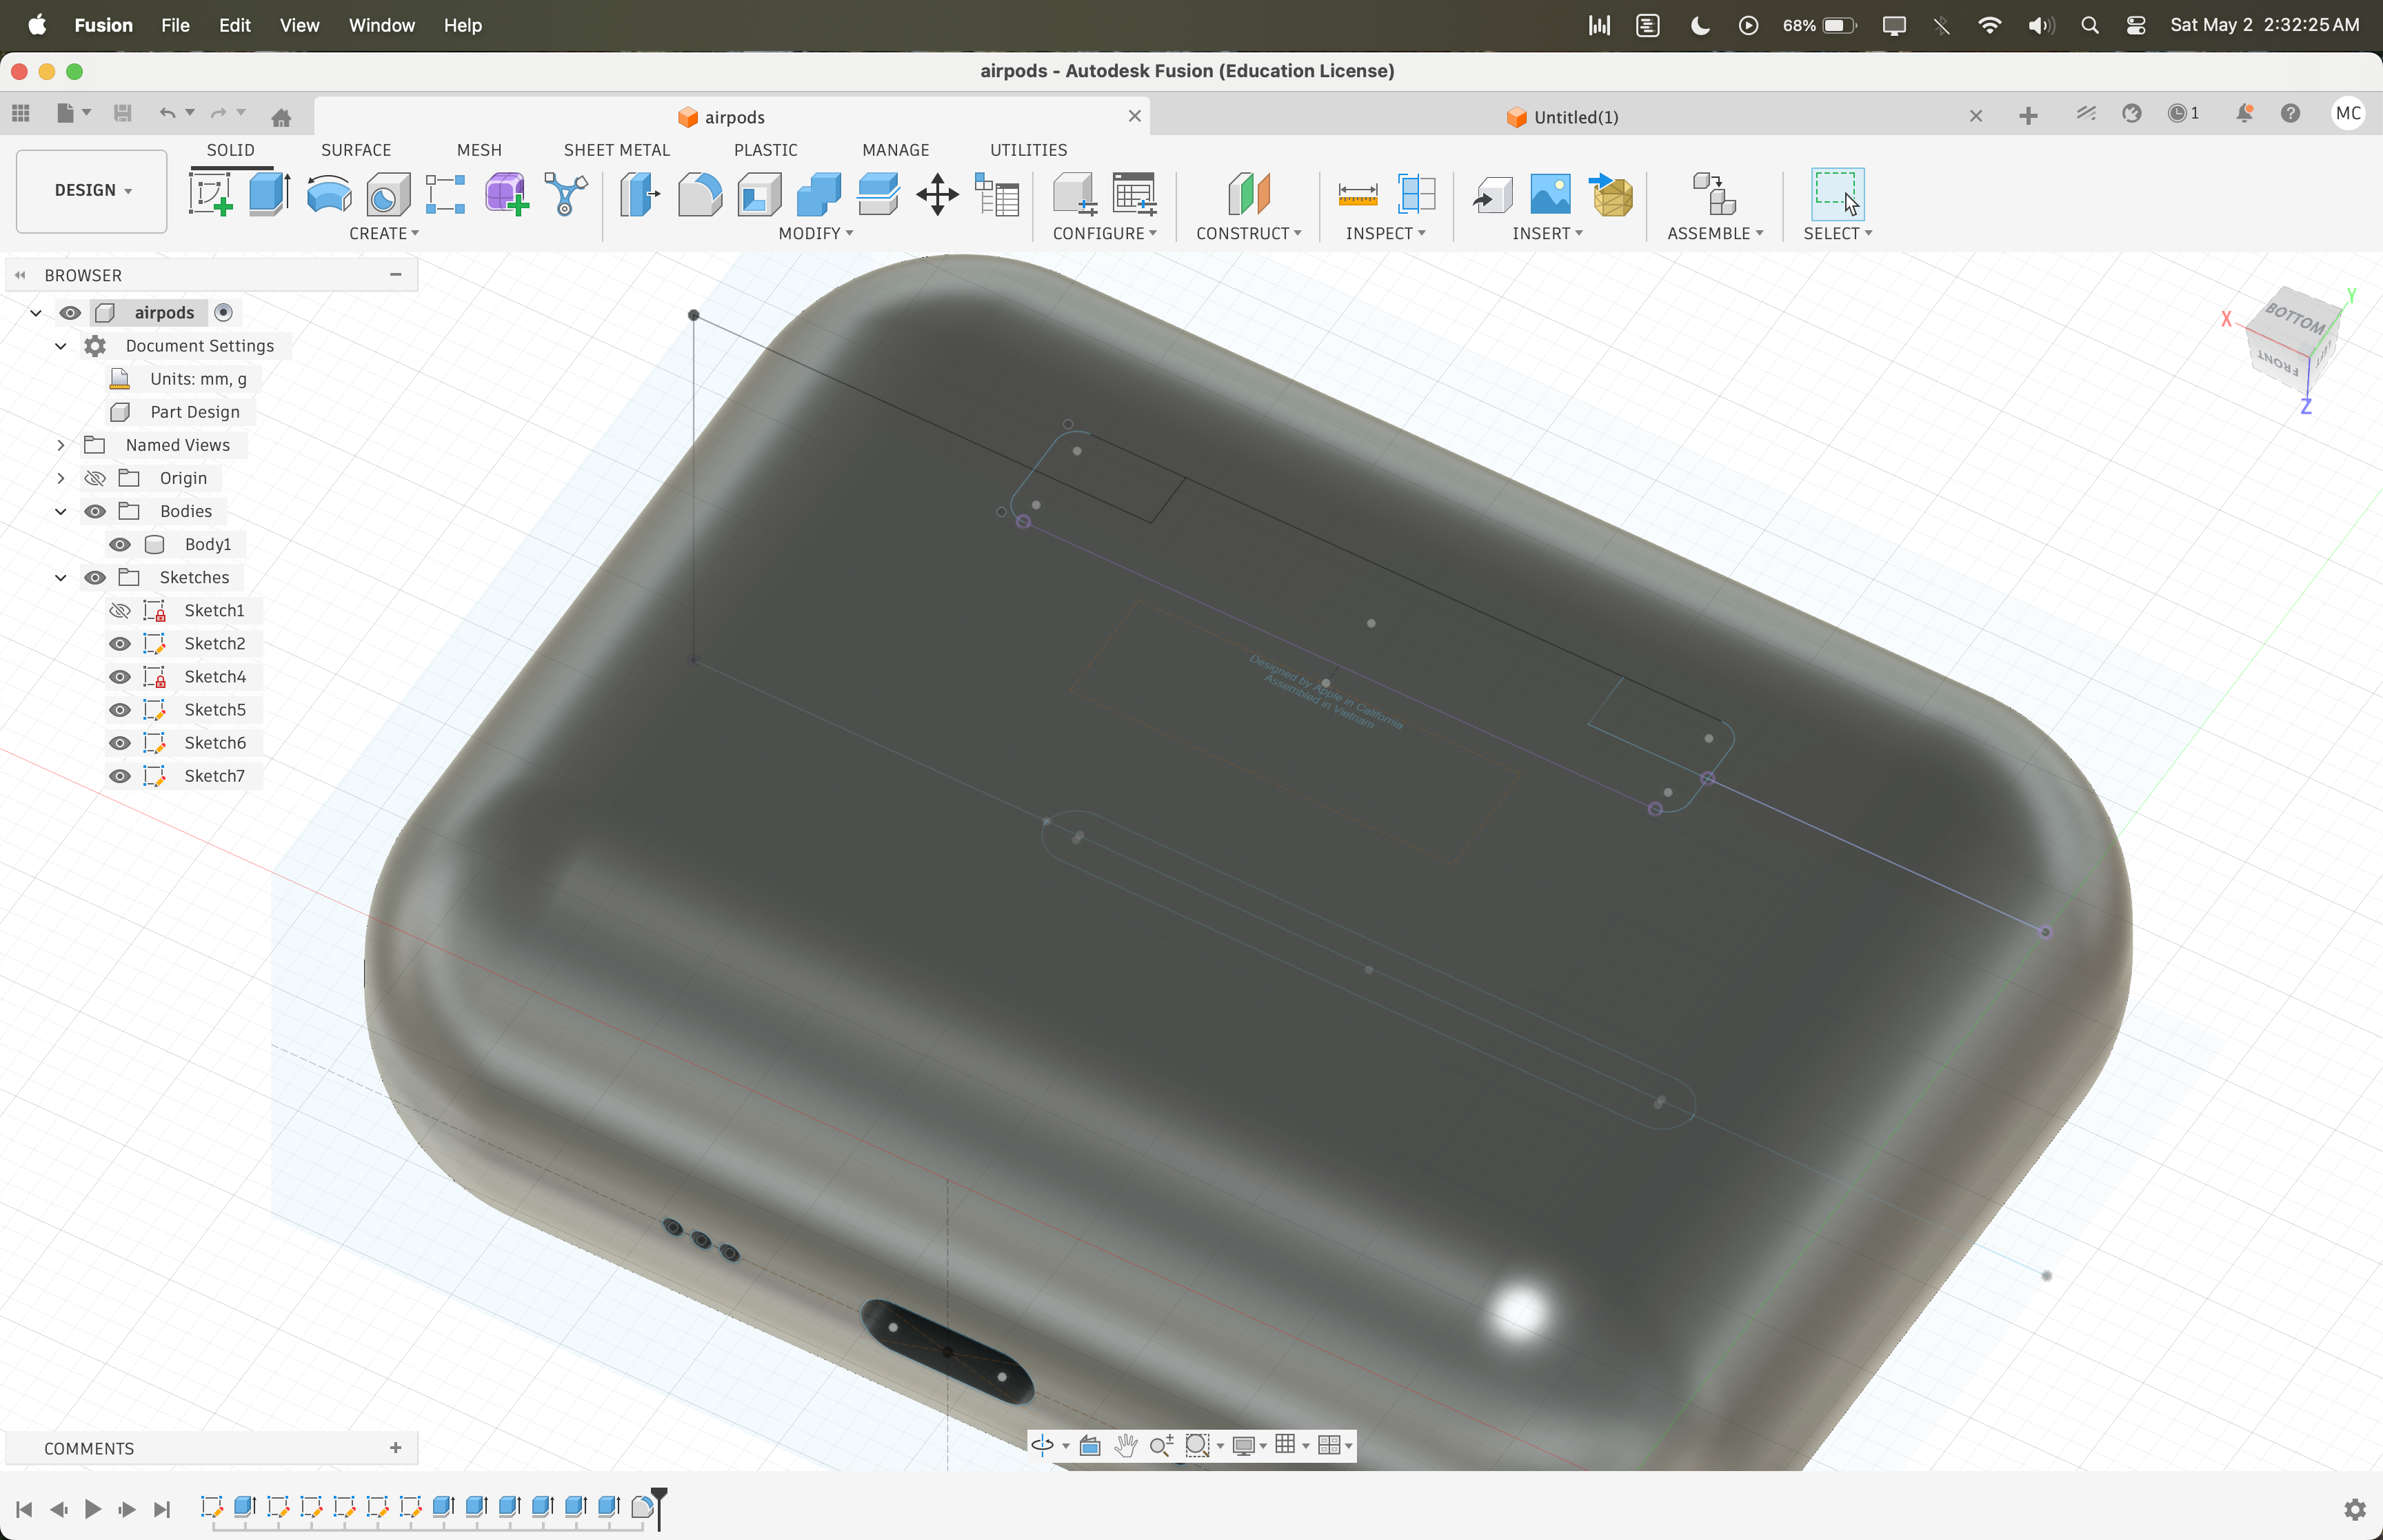
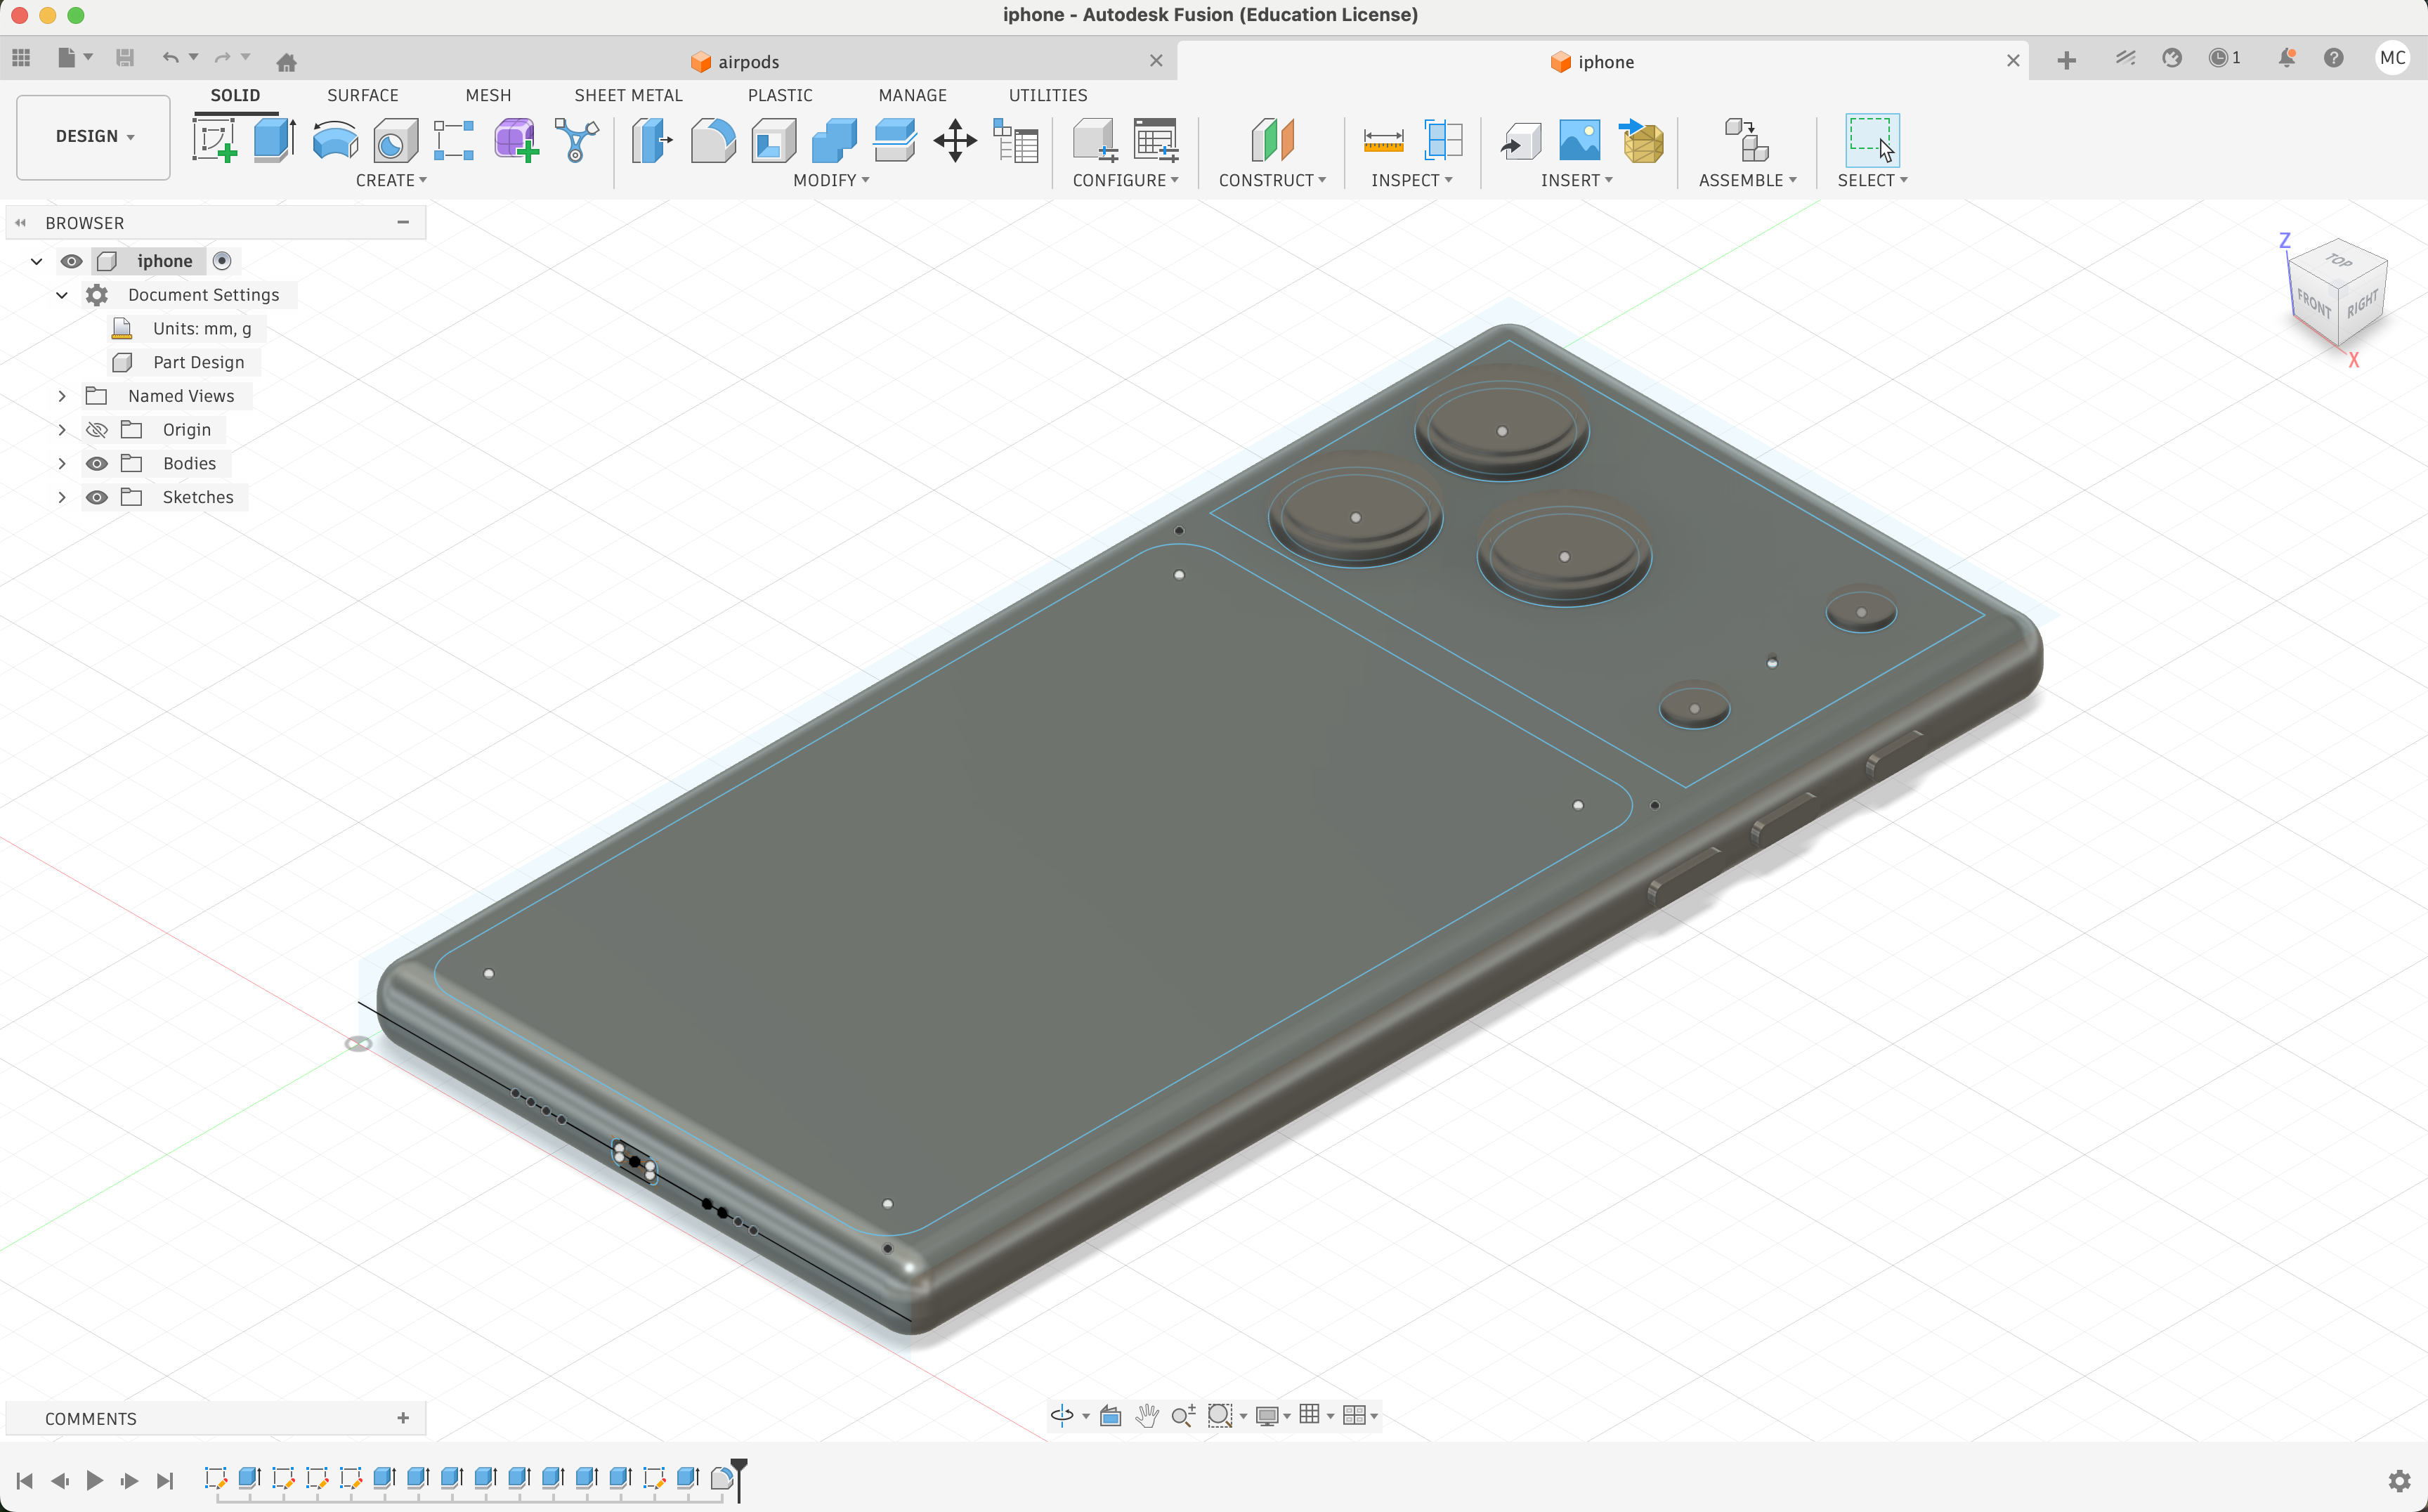
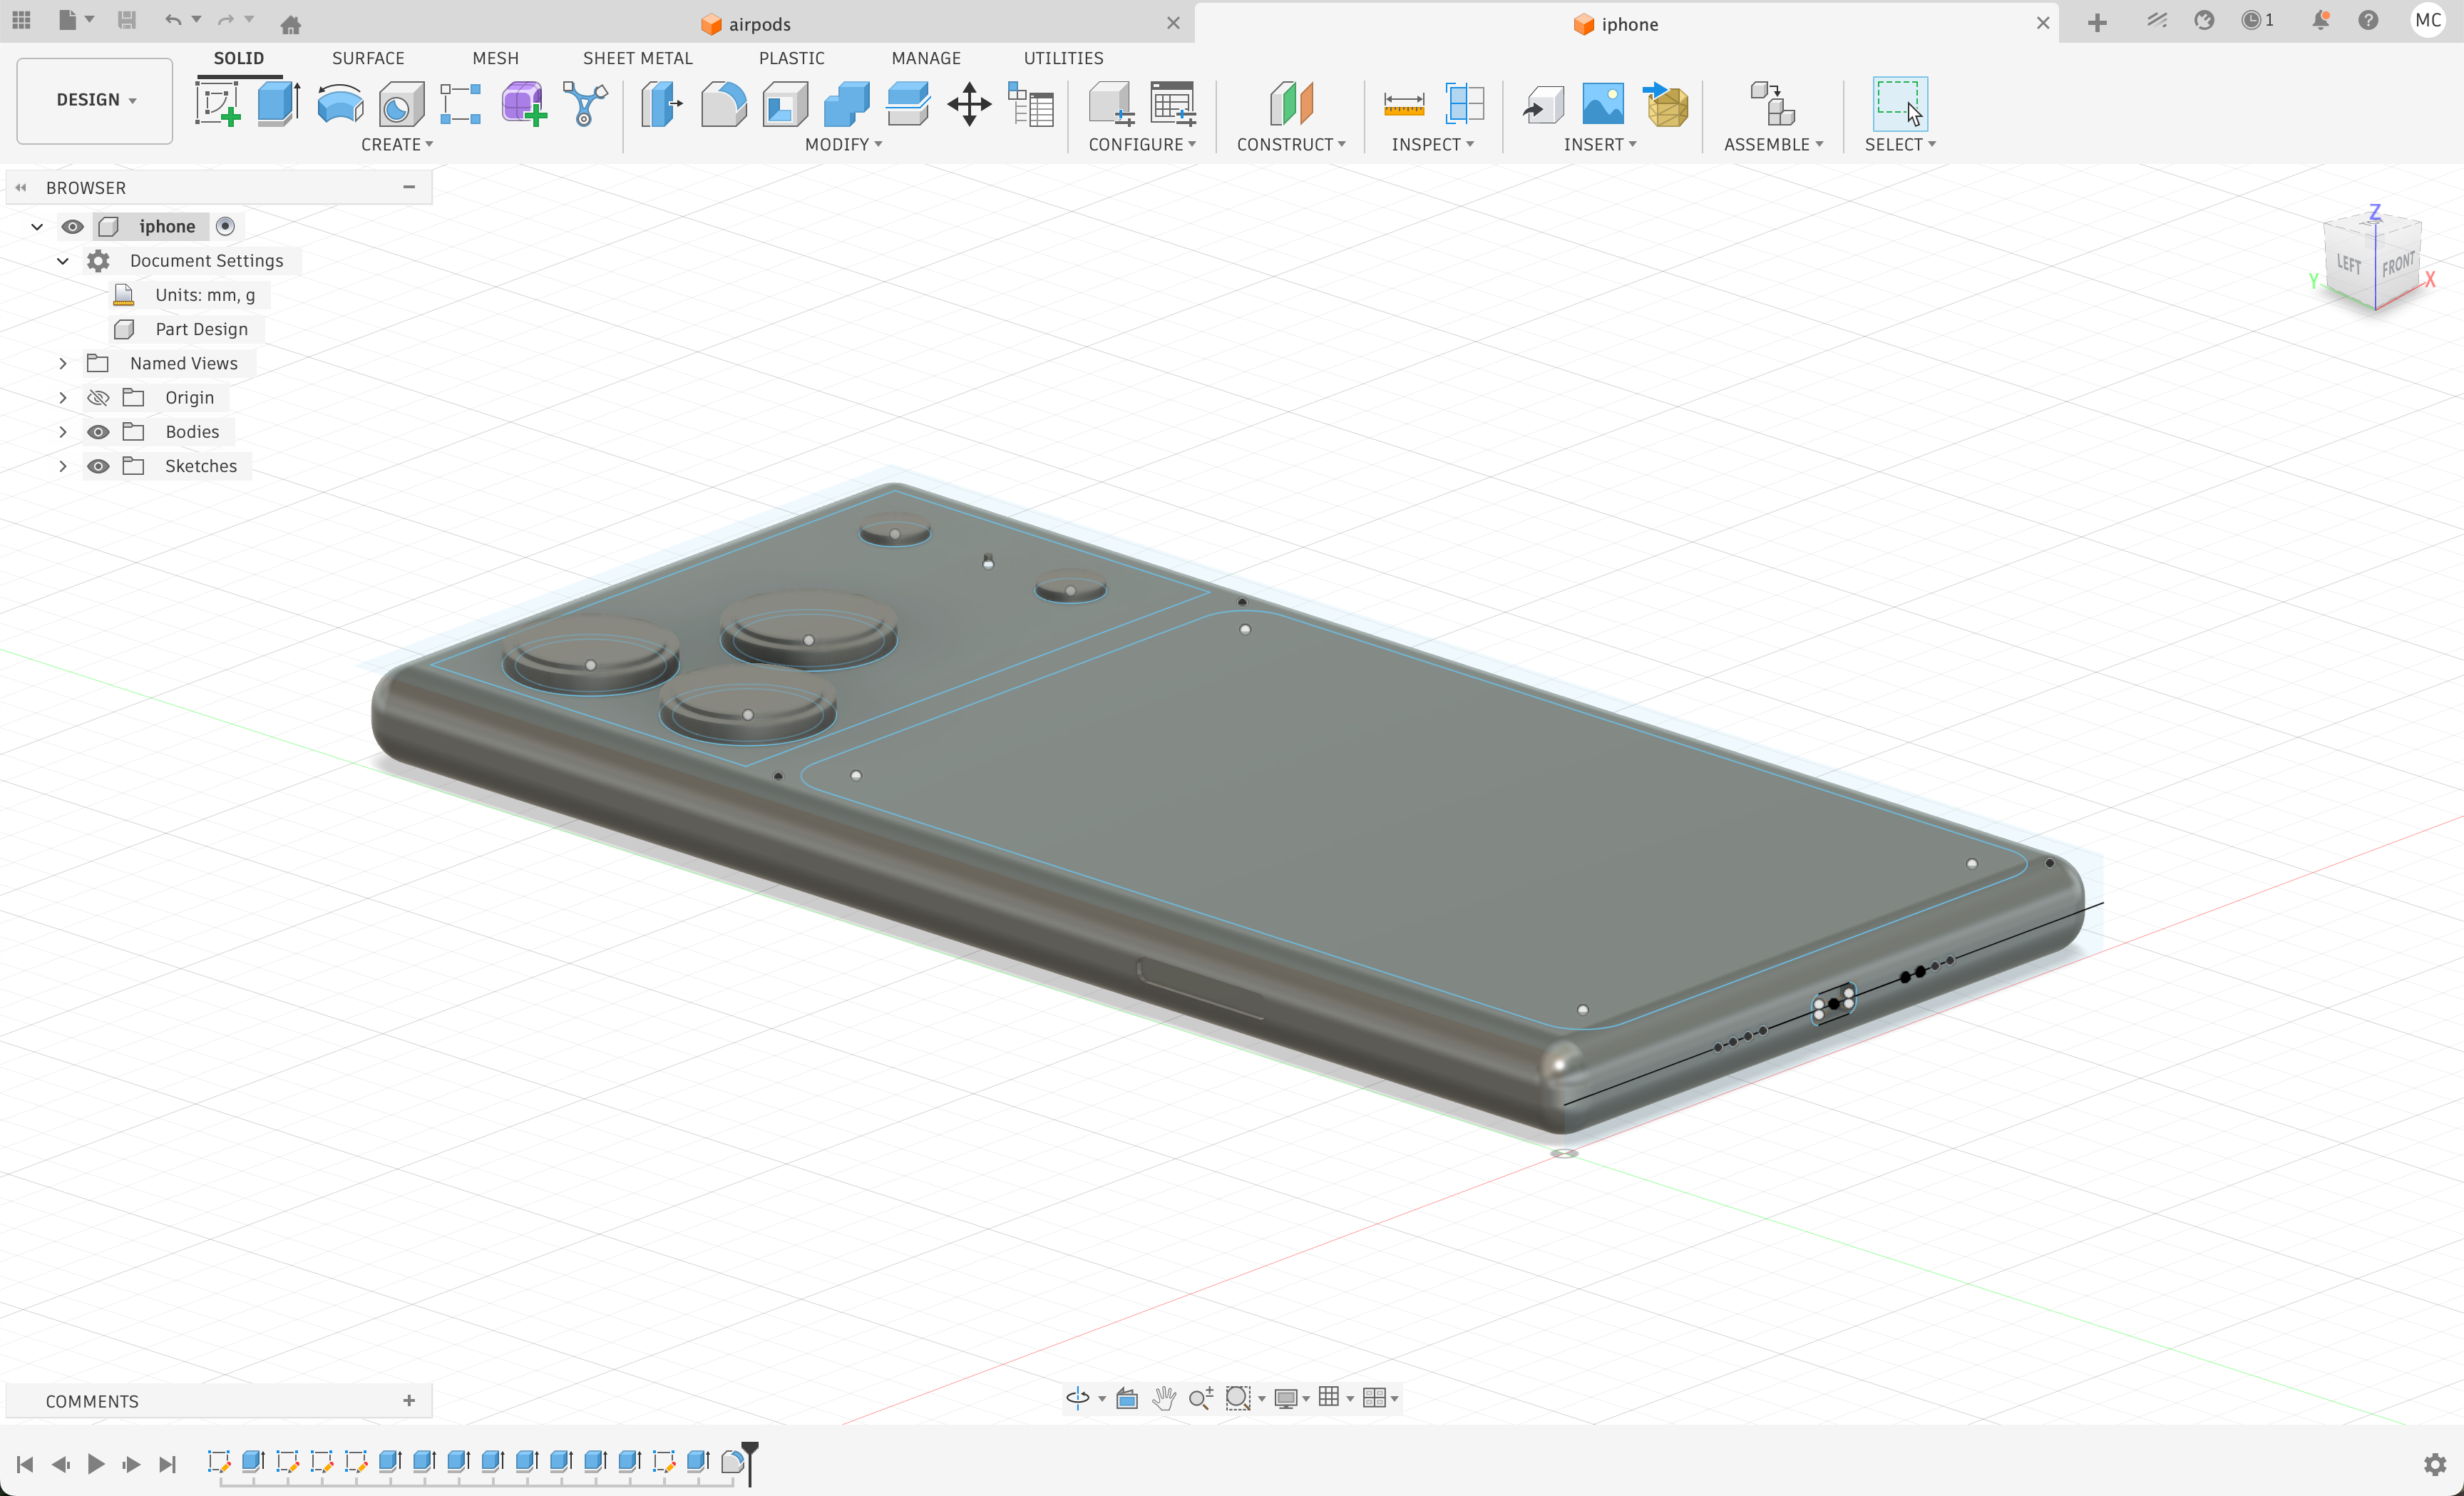
I decided to CAD up the two devices I use most every day, namely my iPhone and my AirPods case. This turned out to be a fun challenge because it forced me to use my calipers carefully to capture the exact spacing between features on each device. For the AirPods case, I included the charging port, speaker holes, the lines where the case opens, and the small dimples on the case. For the iPhone, I modeled the power button, ringer switch, volume buttons, triple camera layout, flash, speaker holes, and charging port, all placed to match my caliper measurements exactly. I leaned heavily on the fillet and extrude tools to reproduce the geometry accurately in 3D, and I came away with a much better understanding of how both devices are dimensioned and laid out.